
Photo Day Guide
How to Prepare for a Real Estate Photo Shoot
A simple room-by-room checklist to get your property camera-ready and help it sell quicker.
Before the Photographer Arrives
Your Photo Day Preparation Checklist
To ensure your property looks its absolute best in your listing, please complete this preparation checklist before the Photographer arrives.
Step by Step
Five Steps to a Camera-Ready Home
Step 01
Logistics on Shoot Day
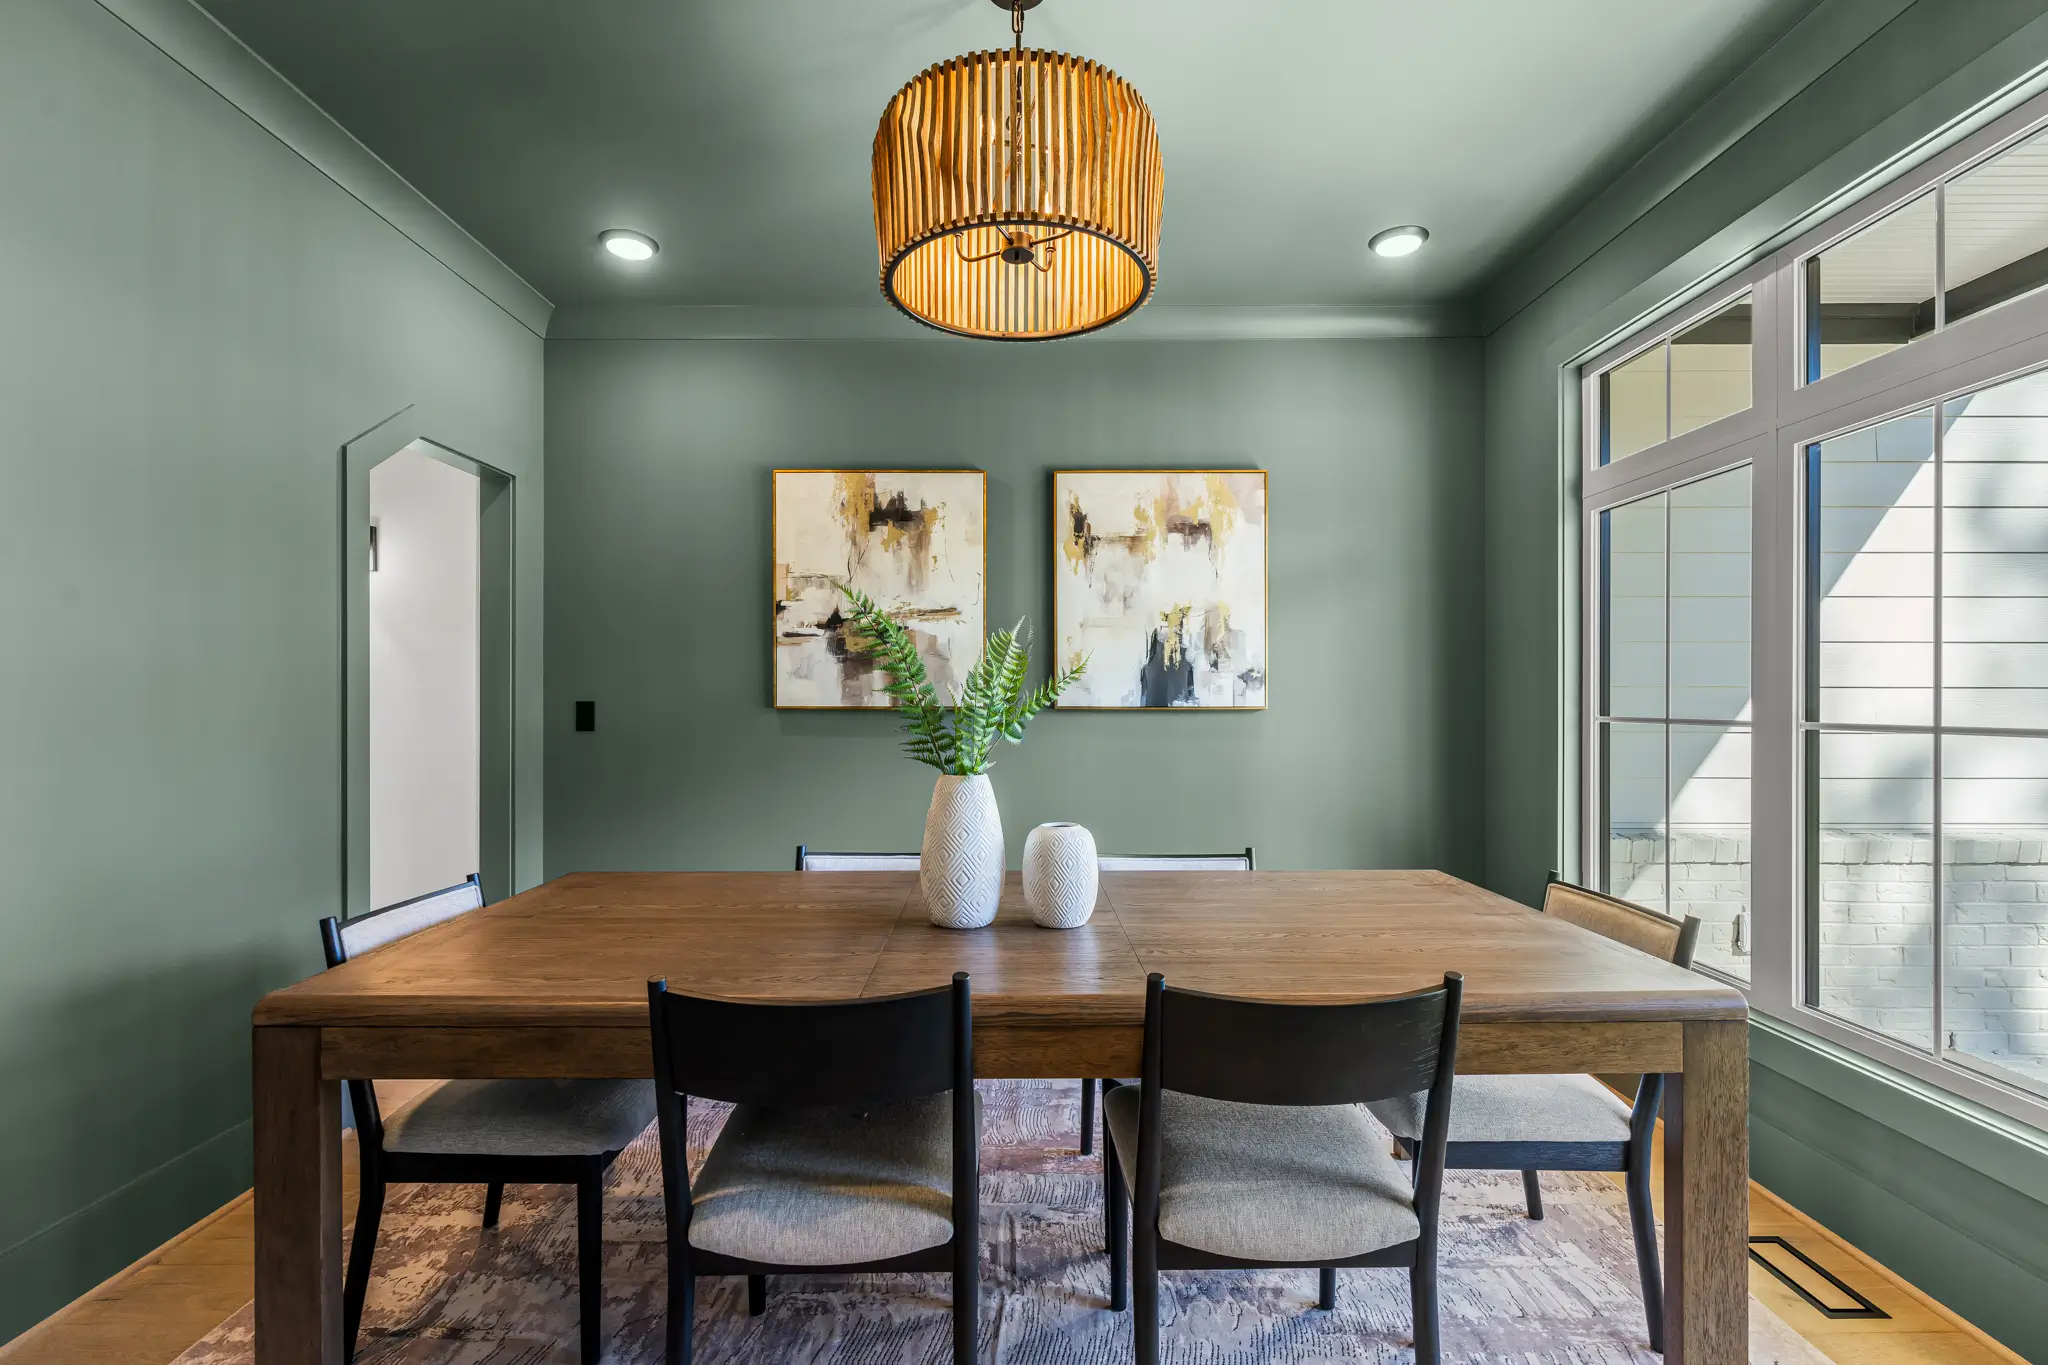
- Clear the Property of People: Home Owners and Agents are welcome for the initial meeting at the property. This is actually recommended so the Photographer can view the property with the client prior to the shoot. Once the shoot starts it’s best to have home owners, agents or any other scheduled trades to leave the property for the scheduled shoot time. Using wide angle lenses, 360 Cameras and Video equipment is very challenging to work with if anyone other than the Photographer is present. We will try our best to work around home offices and home owners that are required or choosing to stay home.
- Secure pets: Keep pets in a crate, a designated room not being photographed, or ideally, take them out for a walk during the shoot.
Step 02
Lighting & Windows
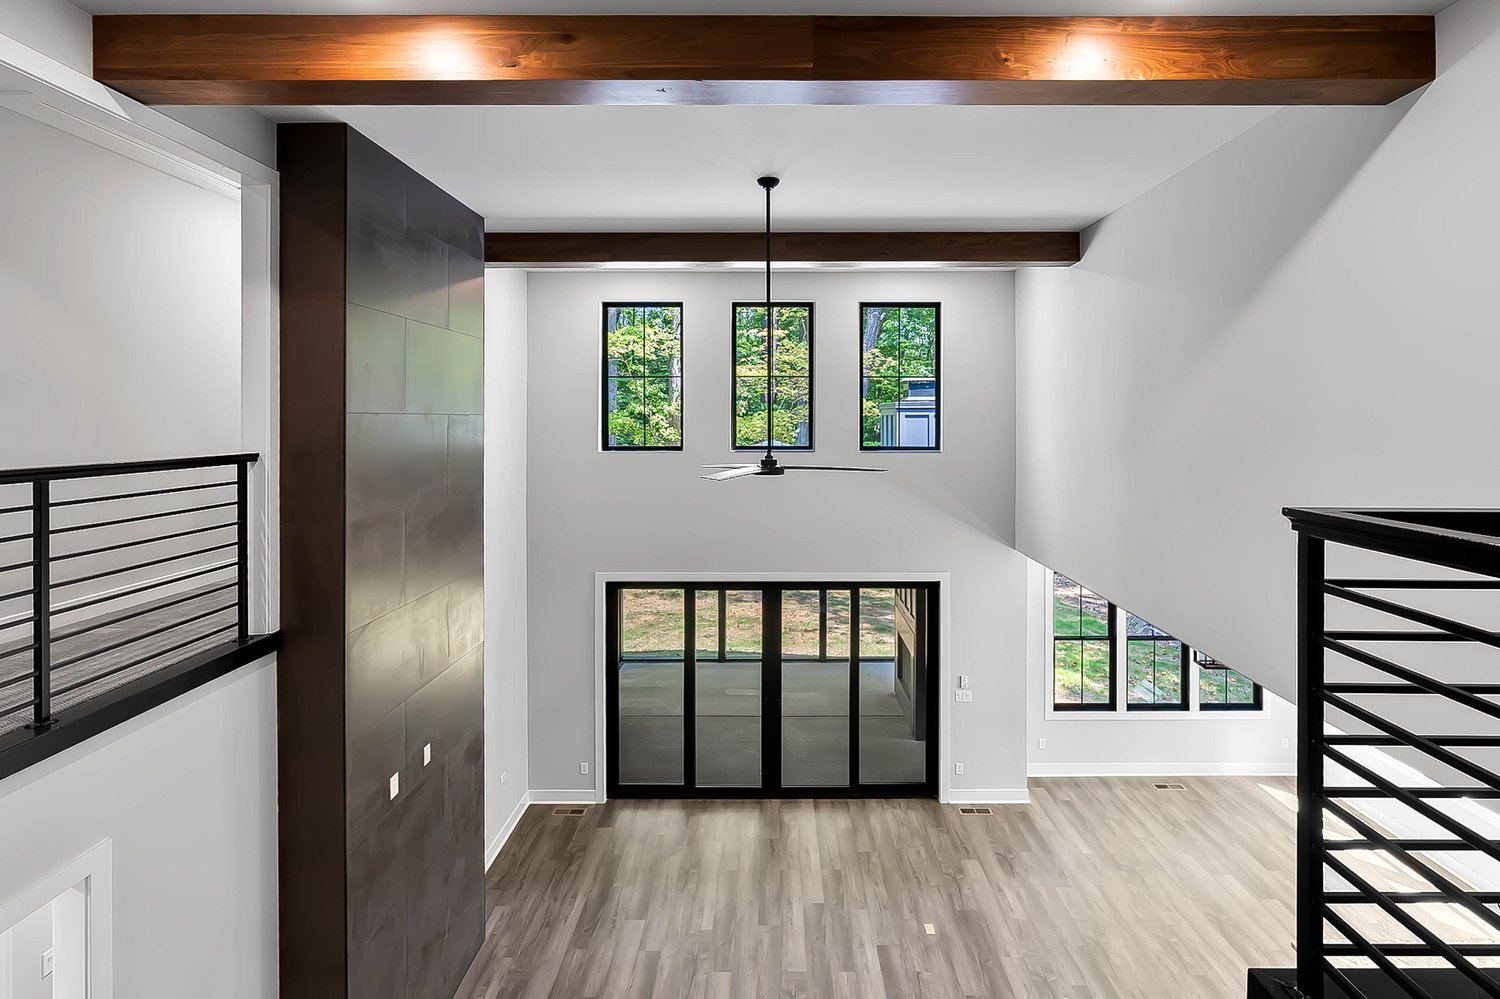
- Turn ON all lights: Switch on every overhead light, lamp, and under-cabinet light.
- Match your light bulbs: Replace any burned-out bulbs. Use the same color temperature (e.g., all warm white or all daylight) in the same room.
- Open all blinds and curtains: Open window treatments completely to let in maximum natural light.
- Turn OFF ceiling fans: Make sure all fans are completely still so they do not blur in photos.
- Turn OFF all screens: Turn off all televisions and computer monitors.
Step 03
Kitchen & Bathrooms
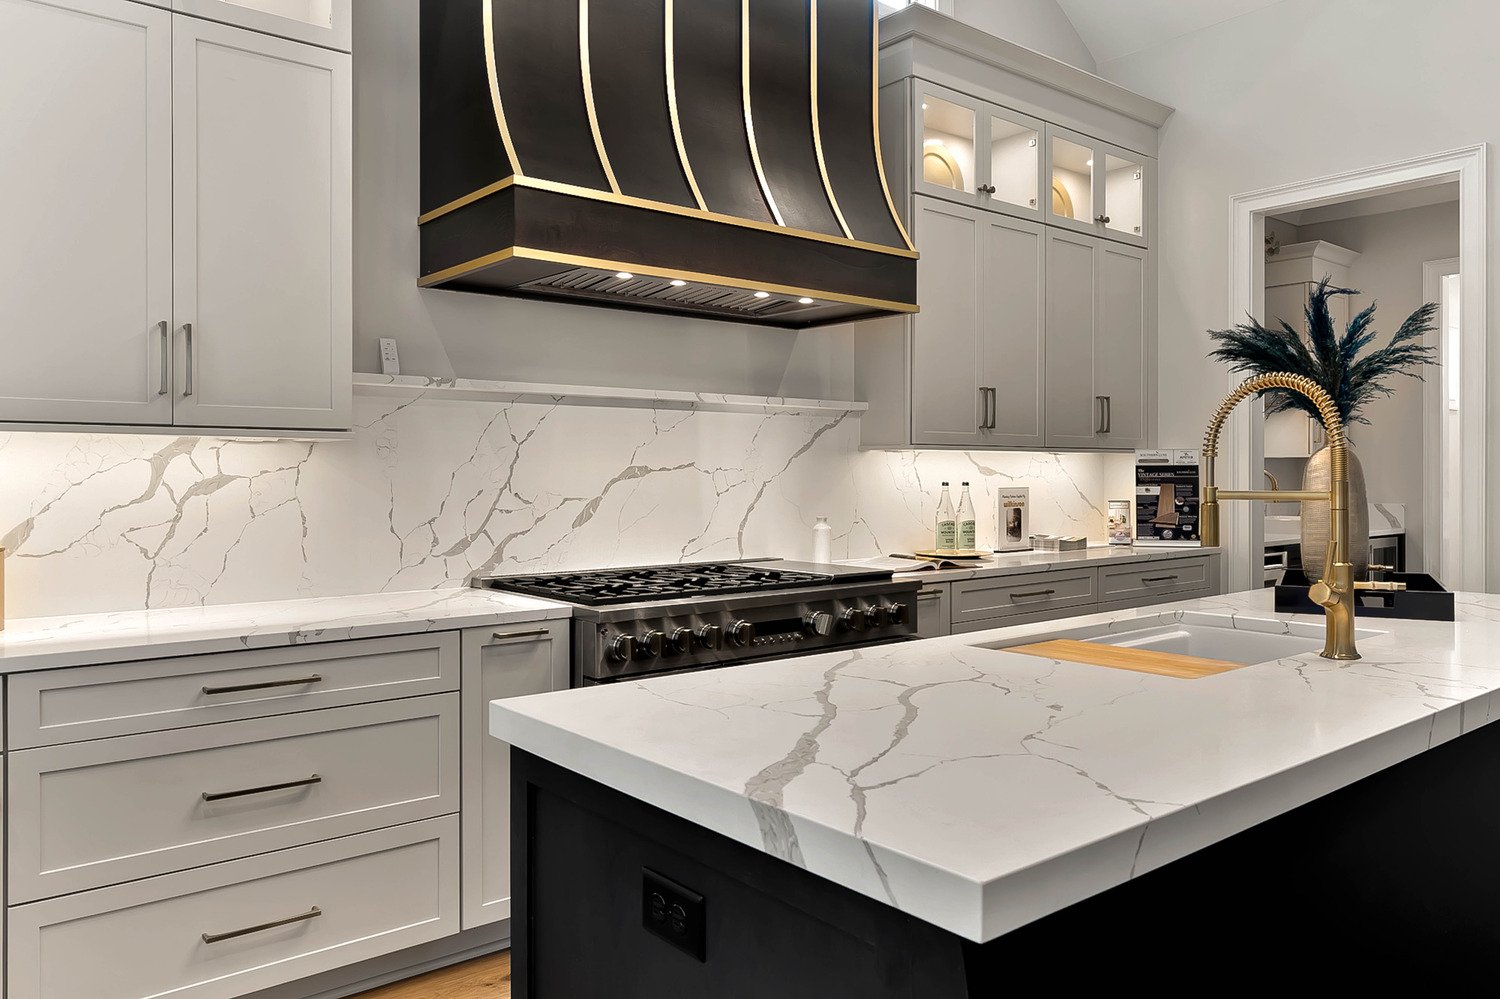
- Clear the countertops: Remove small appliances (toasters, blenders), soap dispensers, sponges, paper towels, and drying racks. For staging purposes coffee makers, espresso machines, knife blocks and small plants will be good to LEAVE on the counters.
- Empty the sinks: Clear out all dishes and wipe the sinks dry.
- Clear the exterior of the refrigerator: Remove all magnets, photos, calendars, and papers from the outside of the fridge.
- Hide bathroom items: Put away all toothbrushes, razors, shampoo bottles, soaps, and trash cans into cabinets.
- Prep the toilets: Put all toilet lids down.
- Wipe down mirrors
Step 04
Living Areas & Bedrooms
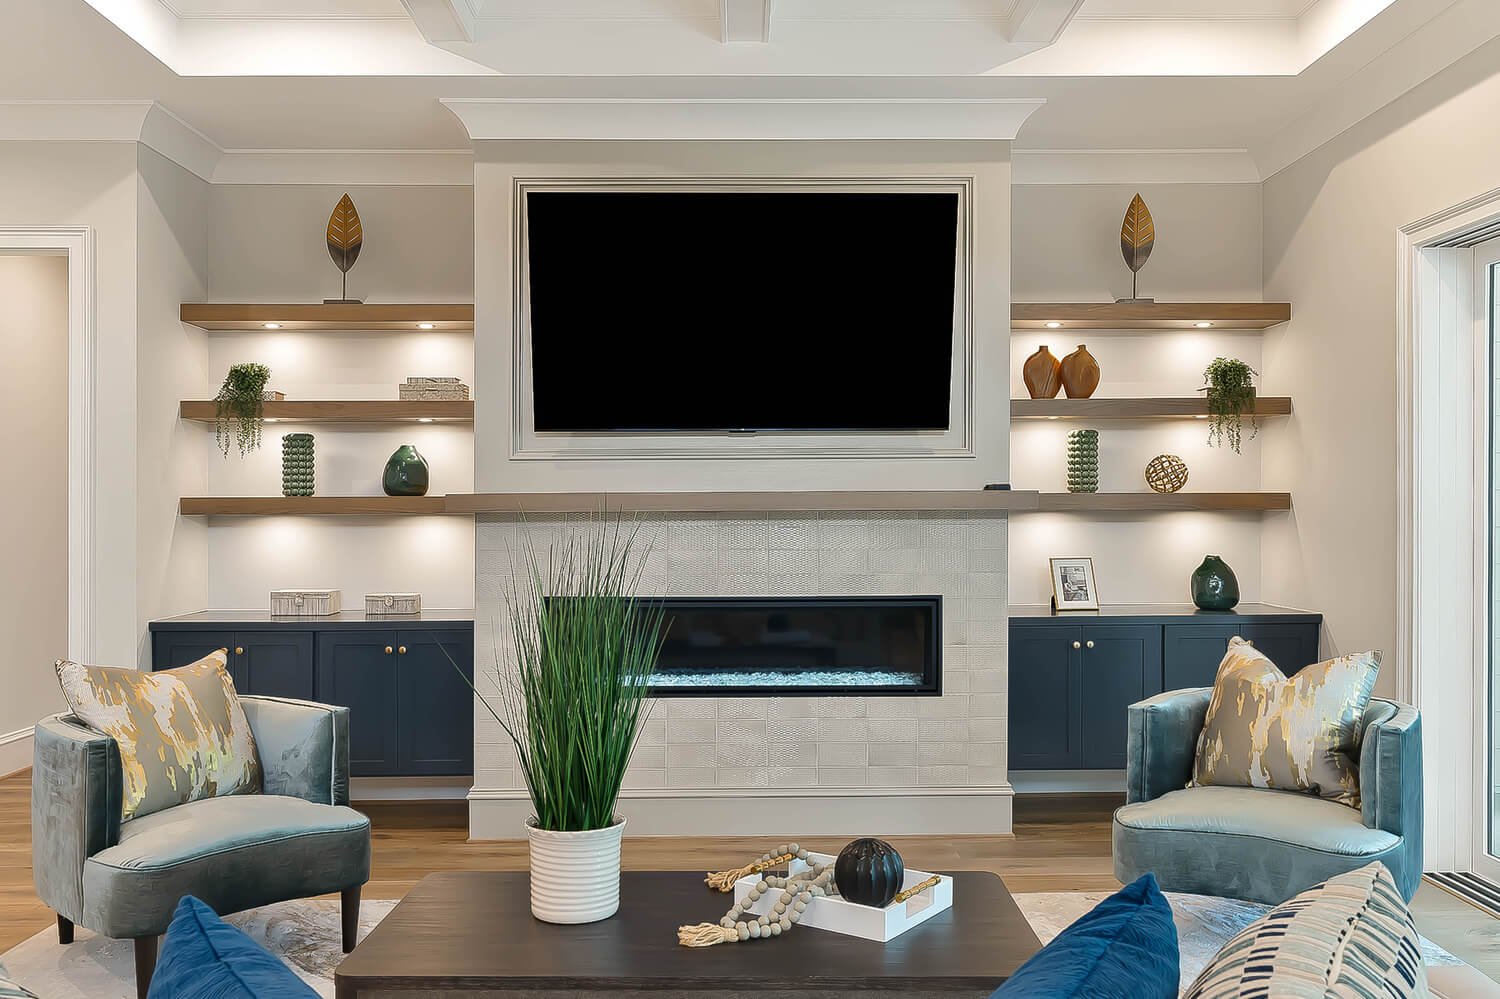
- Declutter all surfaces: Remove visible cords, tissue boxes, remote controls, magazines, and mail.
- Make all beds: Pull bedding tight, straighten bed skirts, and fluff pillows neatly. Check various angles to make sure the bed looks good from all angles.
- Hide personal items: Put away all family photos, diplomas, certificates, and valuable items.
- Hide clothing and shoes: Store all coats, jackets, shoes, backpacks, and laundry baskets out of sight INSIDE closets.
- Stash pet and children’s items: Hide all pet food bowls, beds, toys, litter boxes, and children’s toys (if possible).
Step 05
Exterior & Yard
- Clear the driveway and front curb: Move all cars, trucks, boats, and trailers down the street or completely out of sight.
- Hide trash cans and equipment: Put garbage bins, recycling bins, garden hoses, and lawnmowers completely inside the garage or shed.
- Tidy up the landscaping: Ensure the lawn is freshly mown, walkways are swept, and patio furniture cushions look neat.
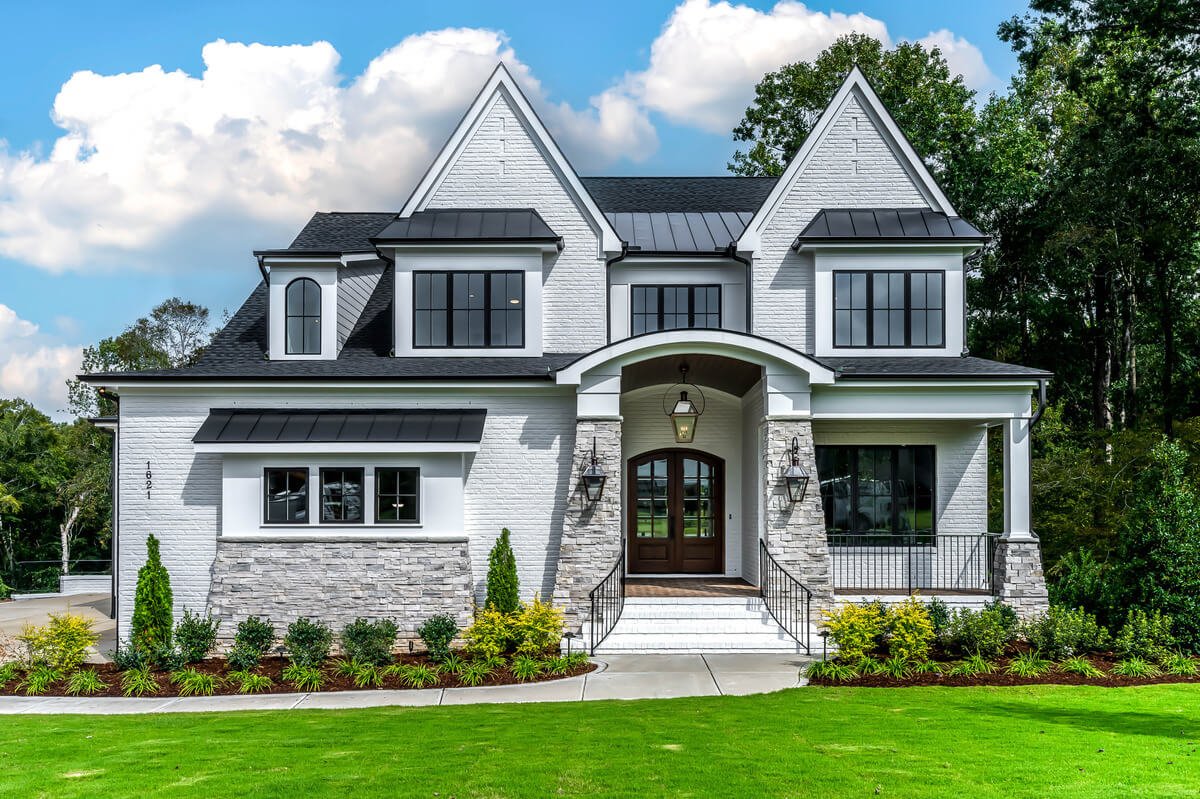
This may sound overwhelming, and it is, but it will only help your property sell quicker. Its also a great way to make a test run before the first showing!
